How to Setup up G Suite Alias Domain in Outlook?
Although the web-based system of Google Gmail is one of the most feature-rich webmail platforms, you may want to handle your Gmail account & messages from a client email software program such as Microsoft Outlook.
This tutorial demonstrates how to configure Outlook 2010, 2013, 2016 or later for Google accounts. The screenshots are for Outlook 2013, but the steps are the same for all versions.
Firstly, What are alias email addresses?
Aliases are nothing more than different ways to mail to a certain mailbox account. Just like a single person can be reached on more than one phone number, a single mailbox can be reached via different email addresses.
Within the G Suite legacy edition, your domain will be added as an alias, so your email address will be generated automatically after creating a mailbox account with the primary domain.
Normally a mailbox only has one e-mail address. However, for the G Suite legacy edition, you can add up to 20 alias domains. So that allows you to set multiple addresses on just one account.
How to configure Outlook so you can receive and send from an alias domain, please follow these steps below:
A. PRE-FLIGHT CHECK
- Enable IMAP and Outlook access in Google: In order to connect Outlook to Gmail, you’ll need to first enable the IMAP connection that Outlook will use.
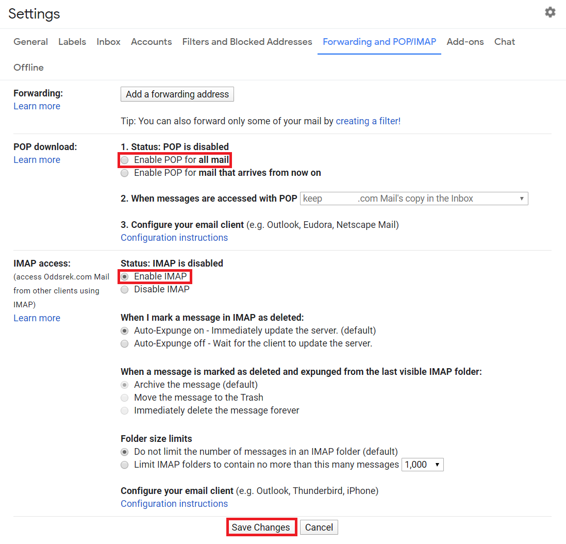
- Log in to your mailbox user with the primary domain > At the top right, click Settings (Gear Icon) and then Settings.
- In the Forwarding and POP/IMAP tab, click Enable IMAP (similar for POP)
- Click Save Changes
- Less secure app access: You’ll need to click this link to allow Outlook to log in to your account https://www.google.com/settings/security/lesssecureapps
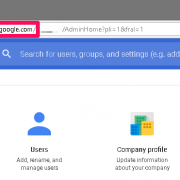
- If you’re unable to complete this step, you’ll need to have your admin log into http://admin.google.com and change a setting. The admin will need to do a search for less secure and click on the less secure apps result. Then just change the setting to the middle option as pictured below:
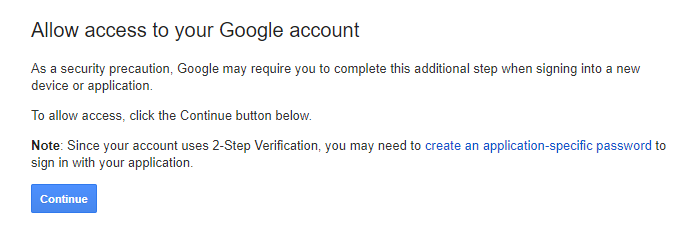
- Allow access to your Google account: As a security precaution, Google may require you to complete this additional step when signing into a new device or application. Make sure your account is unlocked by visiting this link and clicking Continue https://accounts.google.com/b/0/DisplayUnlockCaptcha
- Enable IMAP and Outlook access in Google: In order to connect Outlook to Gmail, you’ll need to first enable the IMAP connection that Outlook will use.
B. ADD A NEW GOOGLE ACCOUNT IN MICROSOFT OUTLOOK
These instructions assume you are starting from scratch to set up an new email account in Outlook. If you are switching to Gmail but are keeping an email address that you already have set up as POP3, you will still need to create a new one, since Outlook won’t let you modify the account type.
Settings Quick Reference:
| Type | IMAP or POP |
| Full Name or Account Name | Your name or Account Name (you can enter anything you want) |
| Email address | Enter your email address with your own company alias domain ([email protected]) |
| Username | Enter your email address for Google account with the primary domain ([email protected]) |
| Password | Enter your Google account password |
| Require authentication (SPA) | checked |
| Incoming server | imap.gmail.com or pop.gmail.com |
| Port | 993 for IMAP or 995 for POP |
| Encryption Type | SSL |
| Outgoing server | smtp.gmail.com |
| Port | 587 (or 465) |
| Encryption type | TLS (or SSL) |
| Use the same settings as incoming server | checked |
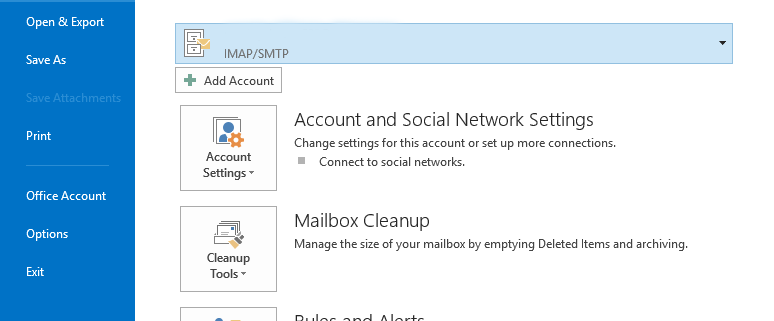
- Open Outlook and go to File >> Account Settings and click Add Account > Choose Manual Setup and then choose POP or IMAP
- Enter the settings as summarized in the table above, or use the following screenshot for reference:
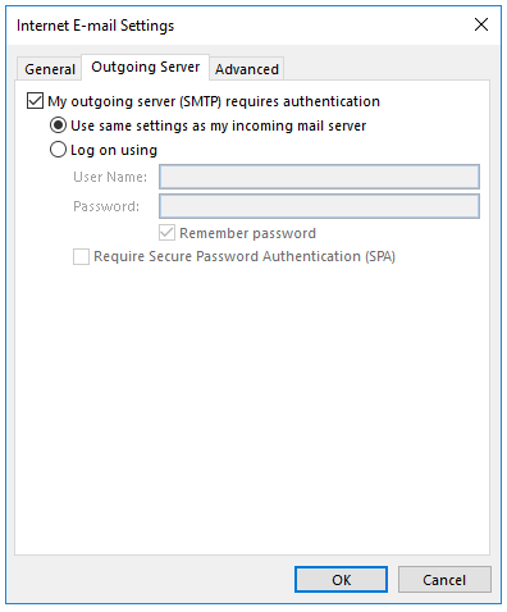
- Click More Settings and select Outgoing Server tab. My outgoing server (SMTP) requires authentication should be checked. > Use same settings as my incoming mail server should be enabled.
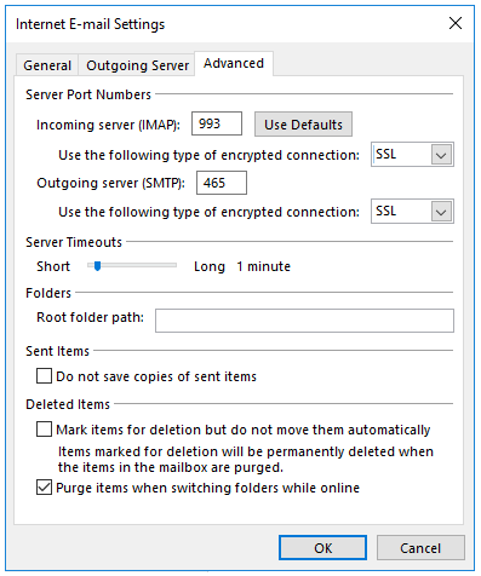
- Now select the Advanced tab at the top of the More Settings window. Fill in the Advanced settings using the images and instructions below.
- Incoming server (IMAP): 993 (995 for POP)
- Incoming server encrypted connection: SSL
- Outgoing server (SMTP): 465 or 587
- Outgoing server encrypted connection: SSL or TLS
- Once complete, click OK to return to the previous window. And then Next and correct any errors, then Finish
- Open Outlook and go to File >> Account Settings and click Add Account > Choose Manual Setup and then choose POP or IMAP
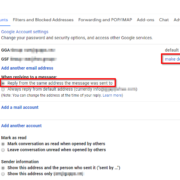
After all this configuring, you can now receive email and create a new message with your account with your company (alias) domain. If there are any problems, please let us know. We’ll get back to you as soon as we can.









Leave a comment